Saturday 11 October 2025, 07:42 AM
How 3D printing reshapes learning in the classroom
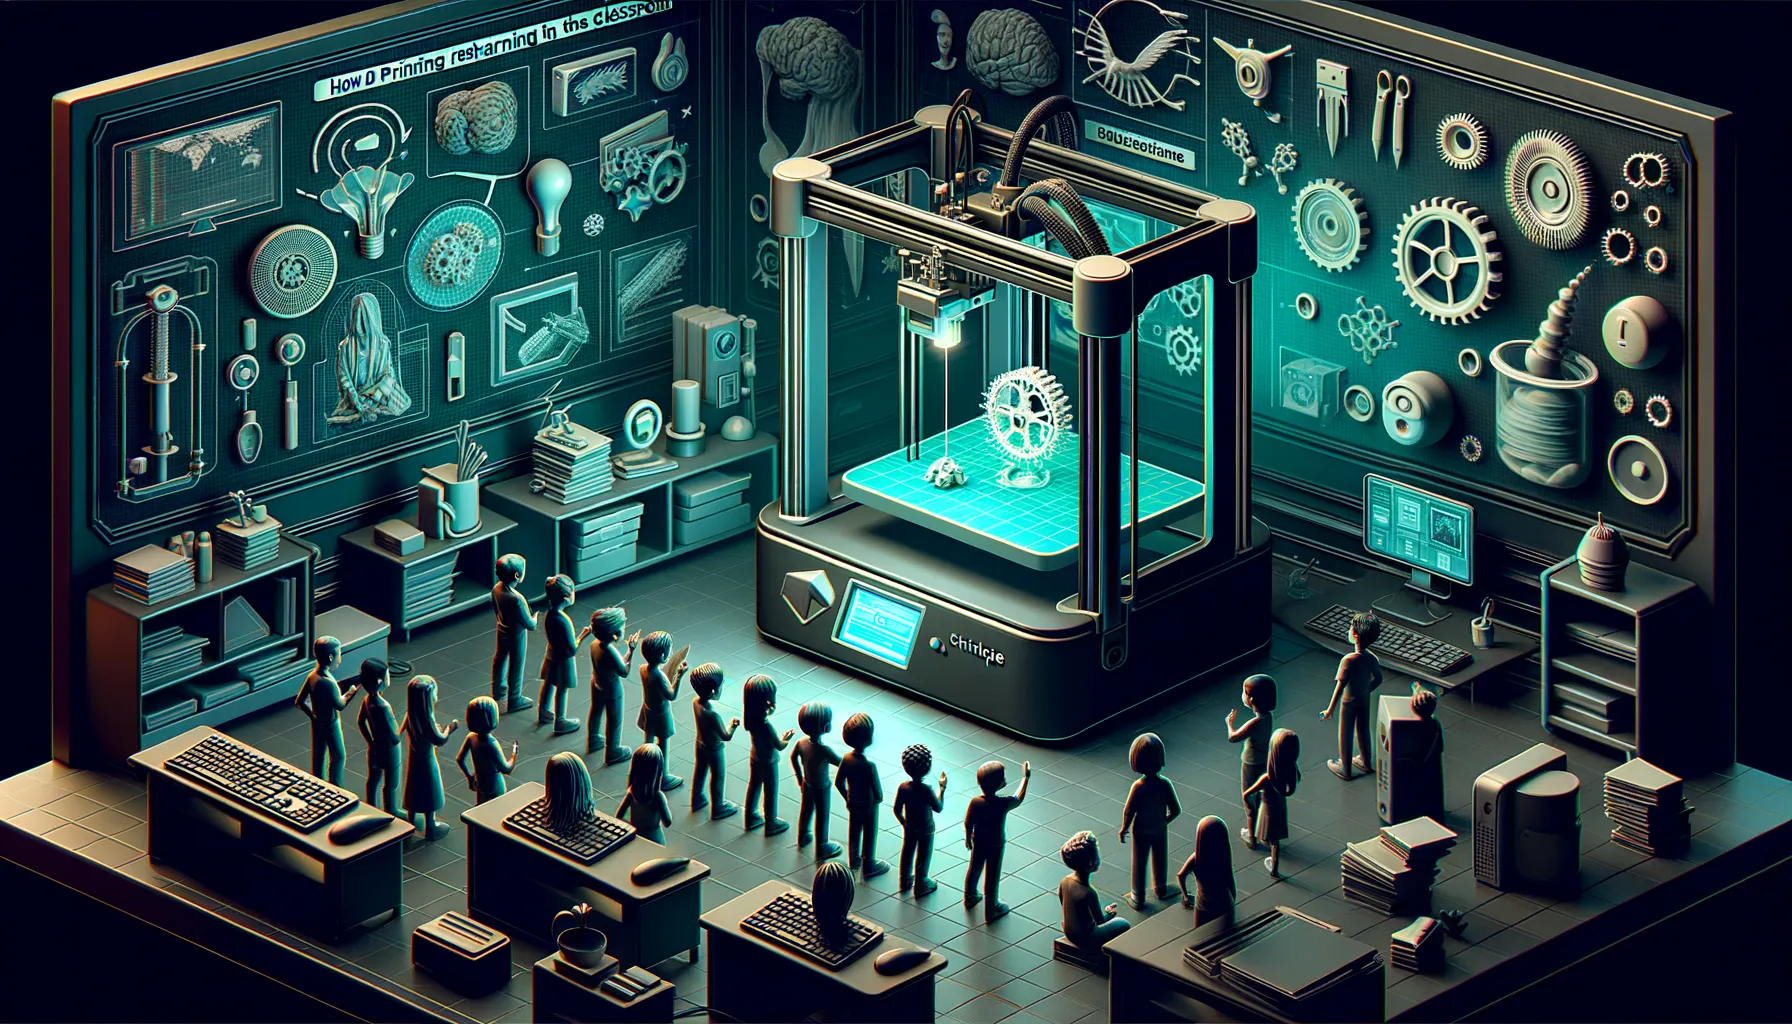
3D printing turns lessons hands-on across subjects, fostering iteration, inclusion, real-world skills, and responsible making. Start small, prototype, reflect.
Why 3D printing belongs in the classroom
3D printing has this magical way of making ideas feel real. You can sketch a concept on Monday, model it on Tuesday, and hold it in your hand by Friday. In a classroom, that shift—from talking about something to literally touching it—can flip the learning switch for a lot of students. It’s not just “cool tech.” It’s an invitation to build, test, and iterate in public, which is how real problem-solving actually works.
Even better, 3D printing isn’t a niche STEM-only upgrade. It threads through math, art, science, history, and language arts in ways that help students make connections across subjects. It also encourages collaboration, reflection, and resilience—those hard-to-teach skills that stick long after the unit test is over.
From passive to hands-on: Learning that sticks
We learn more deeply when our hands and brains are both engaged. If you’ve ever watched a student’s face light up when a prototype finally clicks together, you know what I mean. 3D printing moves learning from passive to active in a few key ways:
- Students own the process. They make choices, test assumptions, and see direct results.
- Feedback is immediate and visible. If a design breaks, it triggers questions: Why? How could we reinforce it? What did we overlook?
- It welcomes multiple entry points. One student thrives in CAD modeling, another leads the measurements, someone else manages the print queue. Everyone contributes.
And because prints can be scrappy and low-stakes, students often feel more comfortable taking risks. A wobbly first draft becomes just that—a first draft—not a failure.
What it looks like across subjects
3D printing can be the glue that holds cross-curricular projects together. A few examples:
- Math: Design a set of custom dice to explore probability. Model and print solids to calculate surface area and volume. Create a parametric shape and watch how changing a variable changes everything else.
- Science: Print a cell model with removable organelles, a cross-section of a volcano, or a custom tool for a lab. Build and test wind turbine blades or buoyant hull shapes in a water bin.
- History and social studies: Recreate historical artifacts or architectural features, then annotate them with research notes. Compare printing techniques to historical manufacturing and labor systems.
- Art and design: Make custom stamps, type, or sculpture armatures. Explore pattern, symmetry, and negative space. Teach critique with physical prototypes you can pass around.
- Language arts: Build character tokens, 3D story settings, or tactile plot maps. Use a printed object as a writing prompt or classroom prop.
- Special education: Create tactile learning tools—raised maps, braille labels, math manipulatives, and fidgets designed with student input.
You don’t have to overhaul your curriculum to start. Pick one unit, swap one activity for a hands-on printed element, and let students guide where it goes next.
Design thinking and embracing productive failure
One of the quiet superpowers of 3D printing is how it normalizes iteration. Students brainstorm, sketch, model, print, and test. Then they adjust. That’s design thinking in a nutshell:
- Empathize: Who is this for? What problem are we solving?
- Define: What constraints matter—size, strength, time, budget?
- Ideate: Generate multiple options before picking a direction.
- Prototype: Print a small or simplified version.
- Test: Gather feedback and revise.
Failure stops being final. A snapped peg is feedback. A piece that doesn’t fit is a clue. Over time, students start to ask better, more precise questions, which is exactly what you want.
Accessibility and inclusion benefits
3D printing can be a great equalizer. It supports multiple modalities and helps more students access the content:
- Tactile models help students with visual impairments or spatial reasoning challenges.
- English learners benefit from concrete examples when learning new vocabulary.
- Neurodivergent students often flourish with structured roles and visible progress.
- Assistive tools can be designed with the student, not just for the student—whether it’s a pencil grip, switch adapter, or custom label system.
These aren’t just nice add-ons; they’re examples of universal design for learning in action.
Real-world skills students quietly pick up
While students are busy designing a keychain or a gear train, they’re also learning:
- Measurement, tolerances, and units
- Data-driven decision-making (infill vs. strength, supports vs. time)
- Version control and file management
- Team communication and project planning
- Basic manufacturing vocabulary and trade-offs
- Patience and troubleshooting
Those skills echo in engineering, architecture, medicine, product design, and beyond.
Safety, ethics, and environmental habits
A little planning goes a long way:
- Safety: PLA is a good classroom filament—low odor and easy to print. Keep hands off hot components, ensure good ventilation, and set up a “printer safety zone.” Treat removal tools like sharp tools because they are.
- Ethics: Teach attribution and licensing when remixing models. Discuss what’s appropriate to print and why. If you’re scanning faces or bodies, get permission and explain data privacy clearly.
- Environment: Minimize waste with draft prints, low infill tests, and right-sizing models. Save failed prints to use as teaching samples. Don’t assume prints are food-safe, and avoid direct food contact unless certified materials and processes are used.
These conversations build responsible digital citizens, not just savvy makers.
Getting started on a shoestring
You don’t need a lab full of top-tier machines. You can start small and smart:
- One reliable printer beats three finicky ones. Look for a model known for easy setup and good support.
- Use PLA and 0.2–0.28 mm layer heights for speed.
- Decide a budget for filament and stick to it. Bright colors go fast; neutral spools stretch farther across projects.
- Start with tiny test prints that run in under an hour. Momentum matters.
- Create a student-led “print team” to handle maintenance, slicing, and queue management.
- If a printer isn’t feasible right now, partner with your library, makerspace, or district tech department to run batches.
The goal is sustained access, not a one-week novelty.
A simple classroom workflow
A consistent workflow keeps the chaos down and the learning up. Here’s a pattern that works across grade levels:
- Define the problem. Who is this for? What will it do? What are the constraints (size, time, weight, cost)?
- Sketch and measure. Paper and pencil first. Encourage labeled drawings with dimensions.
- Model. Use an age-appropriate tool: block-based for beginners, parametric CAD for older students.
- Check scale. Drop a digital ruler in the model or use a reference cube (like 10 mm) to verify sizes.
- Slice smart. Set draft settings for prototypes. Add labels in the slicer if you can.
- Print small. Prototype a piece or a scaled-down version first.
- Test and reflect. What worked? What didn’t? What will you change?
- Revise and reprint. Track versions and cite changes.
- Share. Present to peers, an outside audience, or the class you designed for.
Posting that workflow as a poster near the printer helps students self-manage.
Project ideas you can use tomorrow
Try one and build from there:
- Nameplate challenge: Students design a small desk nameplate using basic shapes and fonts. Emphasize alignment and print orientation.
- Volume swap: Groups design two containers with different shapes but similar volumes and test by filling with rice or beads.
- Assistive tool sprint: Interview a classmate about a classroom annoyance (slippery paper, messy cables) and design a quick fix.
- Story token set: Create tokens for characters or settings to retell key scenes physically.
- Simple mechanisms: Model and print gears, cams, or levers and build a mini kinetic sculpture.
Keep prints under 2–3 hours for first runs. You’ll learn faster that way.
A tiny parametric modeling example
Parametric modeling lets students connect math to making. In a tool like OpenSCAD, changing one variable updates the entire design. Here’s a simple example: a hexagonal pencil holder with adjustable wall thickness, height, and radius.
/* Parametric hexagonal pencil holder */

wall = 2;         // thickness of the walls in mm
height = 80;      // overall height in mm
radius = 30;      // outer radius in mm
sides = 6;        // number of sides (6 for hexagon)

difference() {
  cylinder(h = height, r = radius, $fn = sides);
  cylinder(h = height, r = radius - wall, $fn = sides);
}
Ask students:
- What happens to volume when we double the height?
- How does changing wall thickness affect strength and print time?
- What other polygons could we try by changing the sides variable?
That one little script unlocks a dozen math conversations.
Assessing learning without killing the joy
Grades can be tricky with creative work. Focus your rubric on process, not just the final object:
- Planning and documentation: Clear sketches, dimensions, and reasoned decisions.
- Modeling skills: Appropriate use of tools, clean geometry, and print-aware design.
- Iteration: Evidence of testing, feedback, and revision.
- Collaboration: Roles, responsibilities, and communication.
- Reflection: What they learned, what changed, and what they’d tackle next time.
Quick tip: Have students submit a one-page “design one-pager” with screenshots, measurements, and a short reflection. It keeps the work visible and graded fairly.
Common pitfalls and how to avoid them
You’ll save yourself headaches by sidestepping a few common traps:
- Printing too big, too soon: Start small and scale up after verifying fit and function.
- Skipping bed leveling: Teach students how to check first-layer squish. It solves half your problems.
- Ignoring tolerances: Two parts that “should fit” often don’t. Add 0.2–0.5 mm clearance between mating parts.
- Overloading the queue: Cap print times for early prototypes and use class periods as a natural limiter.
- Forgetting maintenance: Schedule five-minute weekly checks—nozzle clear, bed clean, belts snug.
- Not planning roles: Assign print manager, slicer specialist, quality check, and documentation lead. Rotate weekly.
- Unrealistic deadlines: Printing takes time. Bake it into your lesson plan and promote staged prototypes.
If something goes sideways (it will), turn it into a teachable moment. Disassembling and fixing a printer is a STEM lesson of its own.
How to measure impact beyond test scores
Yes, you can align 3D printing projects to standards. But also look for:
- Increased participation from quieter students
- Better vocabulary retention for tricky concepts (like geometry terms)
- Fewer “When will we ever use this?” questions
- Improved perseverance and problem-solving
- Students teaching each other without being prompted
Collect quick reflections, snapshots of prototypes, and mini-interviews. That evidence tells a bigger story than numbers alone.
Tips for workflow and time management
Time is the number one hurdle. A few strategies:
- Batch printing: Put multiple small models on one plate; use labels or initials embossed on the bottom.
- Draft-first policy: First print must be a draft with reduced infill and fewer perimeters.
- Print windows: Run the printer during lunch, advisory, or after school. Students can check on prints as a reward.
- Slicer presets: Create “Draft,” “Standard,” and “Detail” profiles so students don’t reinvent settings.
- File naming conventions: Class_Project_Group_Version. Small detail, big difference.
- Visible queue: A whiteboard with job name, estimate, filament color, and owner keeps everyone on the same page.
Building community and authentic audiences
Nothing boosts motivation like a real audience. Partner with:
- Younger grades: Design math manipulatives or science models for them.
- Local nonprofits: Create custom organizers, connectors, or tactile signage.
- School teams: Build pegboard hooks, camera mounts, or cable guides.
- Families: Host a “Prototype Night” where students demo their work and gather feedback.
When the work matters to someone else, students raise their own bar.
What to buy and what to skip
If you can invest a little, prioritize:
- One dependable printer with an enclosed or semi-enclosed build area if possible
- Extra nozzles, a spare build surface, and a basic tool kit
- Quality PLA in neutral colors
- A decent caliper for accurate measuring
- Blue painter’s tape or glue stick for adhesion (depending on your machine)
Skip the giant printer and exotic filaments early on. Reliability beats flash in a classroom.
A few go-to troubleshooting tricks
Keep this mini playbook handy:
- First layer not sticking? Clean the bed, relevel, raise the nozzle temp a few degrees, slow the first layer.
- Corners lifting (warping)? Add a brim, increase bed temperature, and avoid drafts.
- Stringing? Lower nozzle temp a bit or increase retraction.
- Weak parts? Increase wall count (perimeters) before you increase infill.
- Supports are a mess? Reorient the model to minimize overhangs; try a tree support style if your slicer offers it.
Teach students to change one variable at a time and take notes. That’s science.
Planning a full unit without losing sleep
A simple, achievable structure:
- Week 1: Introduce the problem, form teams, sketch, and measure.
- Week 2: Model version one, slice, and print small drafts.
- Week 3: Test, gather feedback, revise models, and print improved versions.
- Week 4: Final prints, presentations, and reflections. Curate a gallery with notes on constraints, choices, and trade-offs.
You can compress or stretch this timeline, but the rhythm—plan, prototype, improve, share—keeps energy high and learning visible.
Closing thoughts
3D printing reshapes classroom learning not because it’s shiny, but because it’s a lever for authenticity. It turns “covering content” into “using knowledge” and reframes mistakes as milestones. You don’t need to be an expert to start. You don’t need the perfect setup. You only need a problem worth solving and the willingness to let students steer.
Start small. Print drafts. Celebrate the weird, the almost-there, and the aha moments. Before long, you’ll see students thinking more clearly, collaborating more naturally, and taking real pride in work that they can hold in their hands. That’s not just a new tool. That’s a new way of learning.